Hi, today I decided to install an unattended vCenter (vCSA) server appliance. You can use the CLI installer to perform a silent deployment of a vCenter Server appliance on an ESXi host or an existing vCenter Server instance.
The CLI deployment process includes downloading the vCenter Server installer on a network virtual machine or physical server from which you want to perform the deployment, preparing a JSON configuration file with the deployment information, and running the deployment command.
Steps:
Step 1: Register your vCenter Server appliance (A) and PTR record on your DNS server, like this:
Step 2: Choose where you want to install the vCSA, either on an ESXi host or an existing vCenter. I will be installing it on an ESXi host.
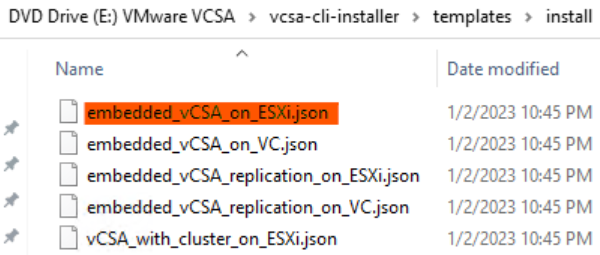
Step 3: Download the vCSA ISO, mount it, and navigate to \vcsa-cli-installer\templates\install. This folder contains JSON configuration files, which you can edit and then use with the vCSA command-line installer. The JSON files, used in conjunction with command-line parameters, provide a way to run an unattended vCSA installation.
I selected the embedded_vCSA_on_ESXi.json file to match the deployment type that I wanted.
Step 4: Copy the selected JSON file (embedded_vCSA_on_ESXi.json) to a local folder on your computer, where you’re running the installer from. For example:
C:\Users\Administrator\Downloads\source\embedded_vCSA_on_ESXi.json
Step 5: Using Visual Studio Code or Notepad++, edit the JSON file as follows. Refer to this link for a complete list of parameters.
Section 1: Target ESXi Server Details:
- Hostname: The FQDN or IP of the ESXi host on which vCSA is installed.
- Username & Password: The credentials needed to access the ESXi host.
- Deployment.network: The port group to which the vCSA Management connects.
					version": "2.13.0",
comments": "Sample template to deploy a vCenter Server Appliance with an embedded Platform Services Controller on an ESXi host."
"new_vcsa": {
"esxi": {
"hostname": "192.168.10.11",
"username": "root",
"password": "VMw@re1!123",
"deployment_network": "vmwaredaily-mgmt-v10",
"datastore": "datastore10"
Section 2: vCSA Deployment Details:
- deployment_option: Set this key with a value that affects the vCenter Server Appliance’s configuration parameters (e.g., vCPUs, memory size, storage size, number of ESXi hosts, and VMs).
- thin.disk.mode: Determines if the vCSA’s disks are created using thin disk mode.
- Deployment.option: Refer to this for available deployment types.
- Name: The name assigned to the vCSA’s VM (displayed in the inventory).
					"appliance": {
comments": [
"You must provide the 'deployment_option' key with a value, which will affect the vCenter Server Appliance's configuration parameters

"thin_disk_mode": true,
"deployment_option": "medium",
"name": "vc01"

],
Section 3: vCSA Network Details:
- ip.family: The IP version used (4 or 6) for the network configuration.
- mode: Determines if static or DHCP network settings are used.
- ip: The IP address assigned to the vCSA.
- dns.servers: A comma-separated list of DNS servers configured on vCSA.
- prefix: Subnet mask in prefix format (e.g.,
255.255.255.0 = 24). - gateway: The IP address of the default gateway set on vCSA.
- system.name: The FQDN (hostname) for the appliance.
					"network": {
"ip_family": "ipv4",
"mode": "static",
"system_name": "vc01.vmwaredaily.com",
"ip": "192.168.10.4",
"prefix": "24",
"gateway": "192.168.10.254",
"dns_servers": [
"192.168.10.1"
]
  },
Section 4: vCSA OS:
- password: The root password used to access the vCSA via SSH, VAMI, or otherwise.
- ntp_servers: Set your NTP server IP address.
- ssh.enable: Set to true to enable SSH access by default.
					"os": {
"password": "VMw@re1!123",
"ntp_servers": "192.168.10.1",
"ssh_enable": true
},
Section 5: SSO Details:
- password: The password for
[email protected]. - domain-name: The SSO domain name (you can leave it as is).
					"sso": {
"password": "VMw@re1!123",
"domain_name": "vsphere. local"
}
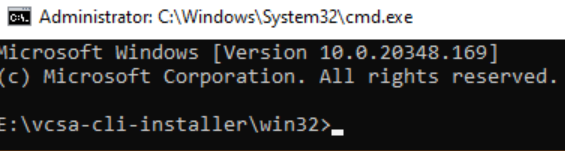
Step 6: Open an administrative command prompt and navigate to \vcsa-cli-installer\win32 on the mounted ISO image.
Step 7: Perform the installation using the vcsa-deploy install command:
vcsa-deploy install --no-ssl-certificate-verification --acknowledge-ceip --accept-eula C:\Users\Administrator\Downloads\source\embedded_vCSA_on_ESXi.json
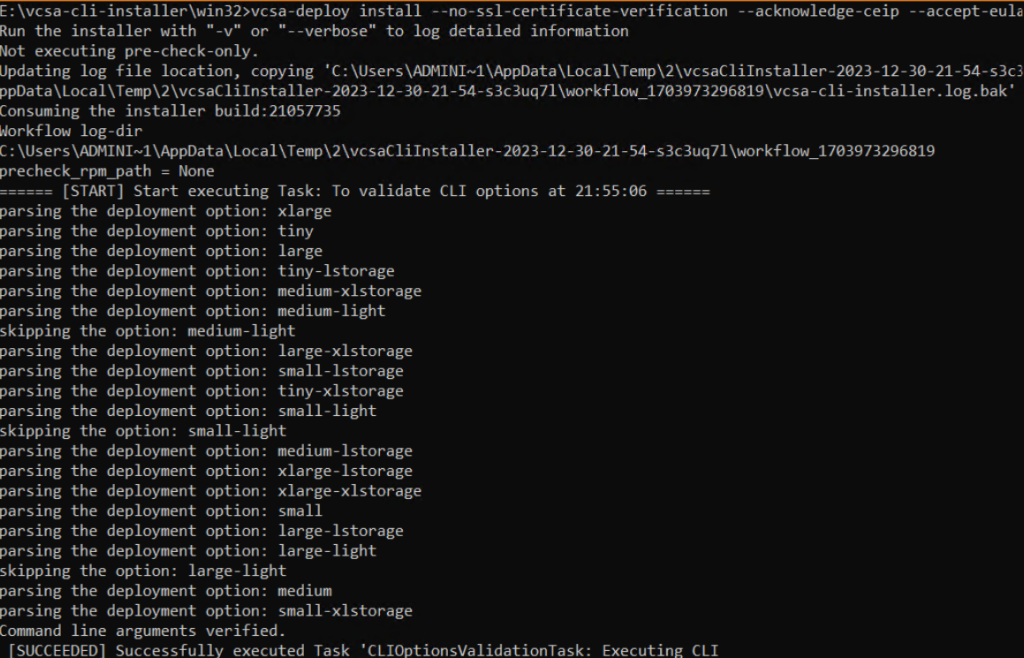
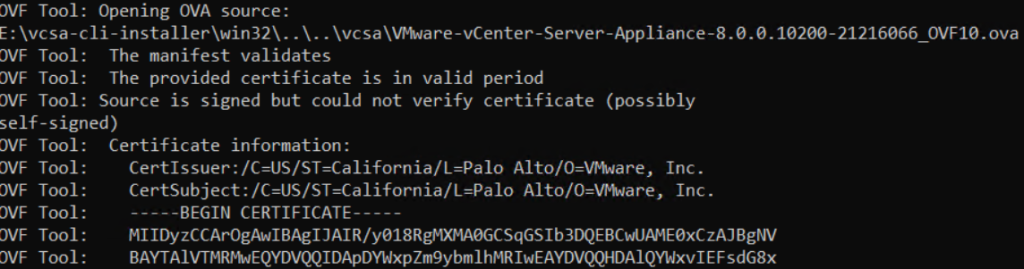
The deployment of the vCSA OVF will begin.
Final Result:
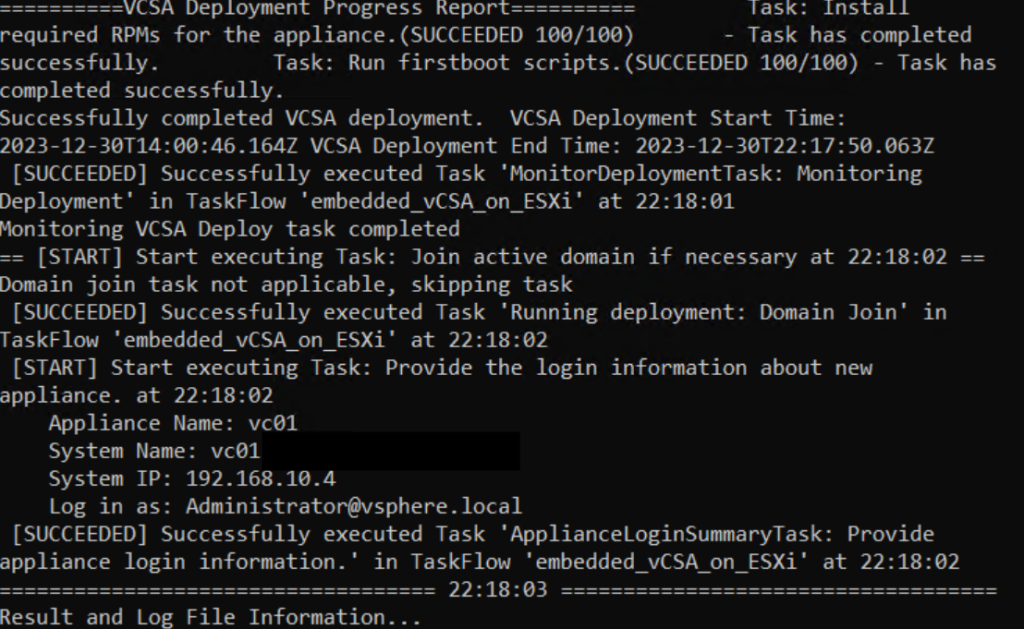
Once the deployment is complete, you can find your log files here:

Finish 🙂